How to simply and cheaply build a rainwater collection system out of everyday items you already have.

We’re in the middle of a water crisis. Some of the worst droughts in recorded history are currently sweeping through Australia, the Americas, and Africa, turning once-productive farmland into desert and placing a growing barrier between the poor and potable water.
The United States of America leaves the world’s largest water footprint (about 400 gallons per person every day). We get it–long, hot showers are amazing. Whether you’re deep conditioning, weeping over the likelihood that you’re sterile due to all the synthetic estrogen you ingested as a child, or whatever else you do in there, you’re turning a lot of clean, potable water into wastewater, and we’re running through our clean water resources faster than the earth can replenish them.
One simple way to cut down on the amount of water you remove from aquifers and wells is by collecting rainwater instead of letting it mix with contaminated water and flow into the sewage system.
If you take a few easy steps to convert your existing gutters into a rainwater collection system, you can collect around 60 gallons of rainwater. This water isn’t potable, so treat it before you drink it. Or better yet, don’t drink this water at all and use it to water your lawn or garden. Americans are using three times the volume of Lake Mead just to water our lawns EVERY SINGLE YEAR.
There are tons of different rainwater collection systems, but this is one of the simplest and the cheapest. Here’s how to make it:

Step 1 Of Building A Rainwater Collection System: Gather Your Materials
-- 1 large plastic garbage can (the larger it is, the more water you can collect)-- 1 tube of watertight sealant or roll of Teflon tape for plumbing
-- 2 rubber washers
-- 2 metal washers
-- 1 hose clamp
-- 1 spigot
-- A drill
-- Landscaping fabric
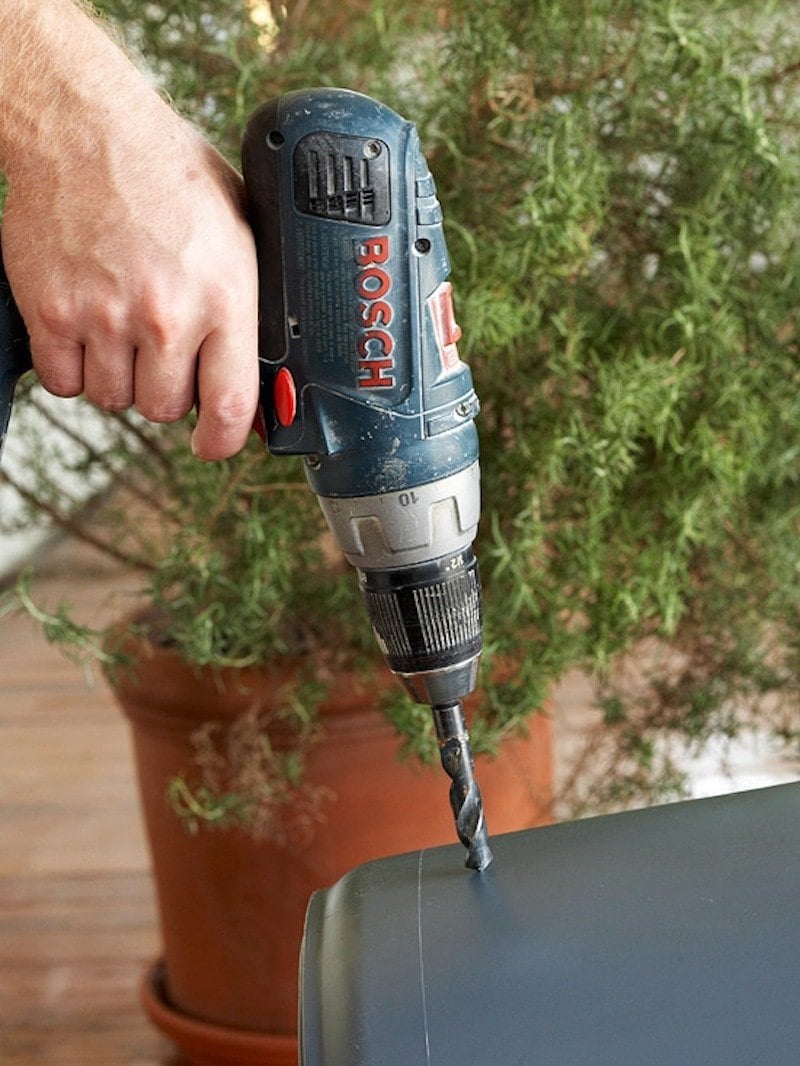
Step 2: Drill A Hole
This is where you'll insert your spigot. Use a drill bit that's a little smaller than or the same size as the spigot. Rain Barrel Hint: Don't drill the hole too low -- you'll want to leave space underneath to fill your watering can.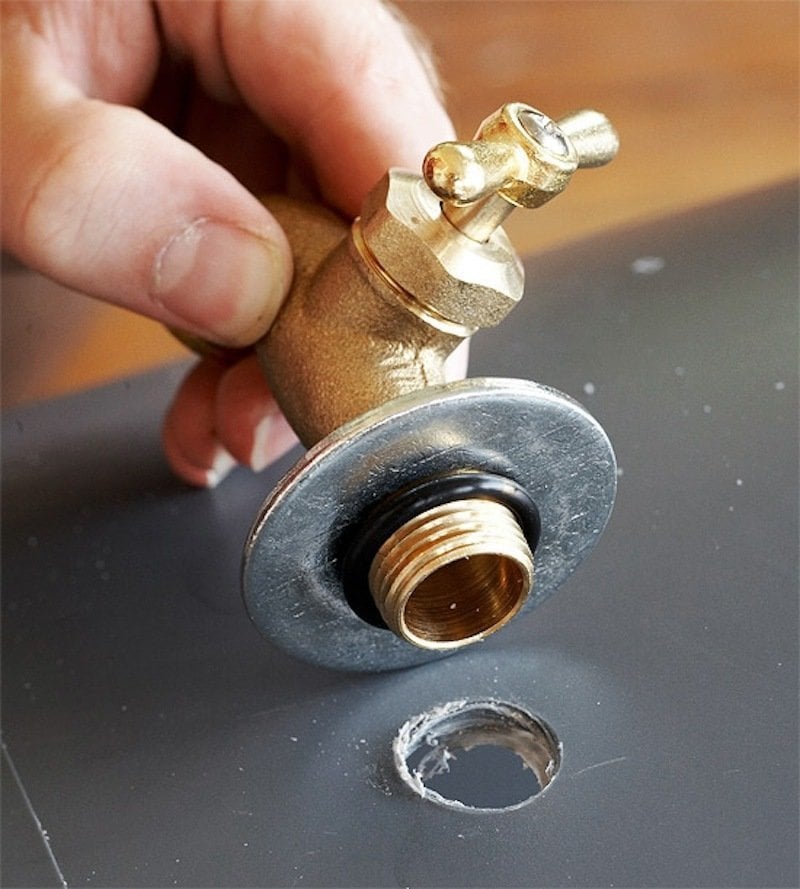
Step 3: Insert The Spigot
Place a metal washer onto the threaded end of spigot, then put a snugly fitting rubber washer over the threads to help hold the washer in place and prevent leakage.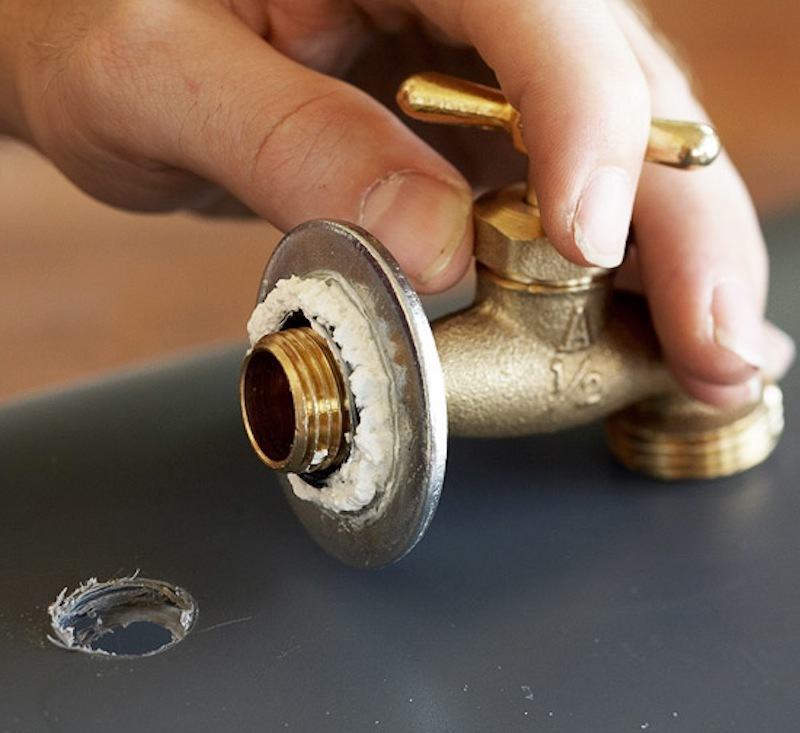
Step 4: Seal It Up
Next, apply a bead of waterproof sealant over your rubber washer and insert the spigot into the hole. Wait for the sealant to dry, then run a rubber washer, followed by a metal washer onto the threads of the spigot inside the barrel. Secure the spigot in place inside your barrel with the hose clamp. This is important because it will keep your spigot from coming loose from your barrel. You can also run watertight Teflon tape to seal the spigot hole.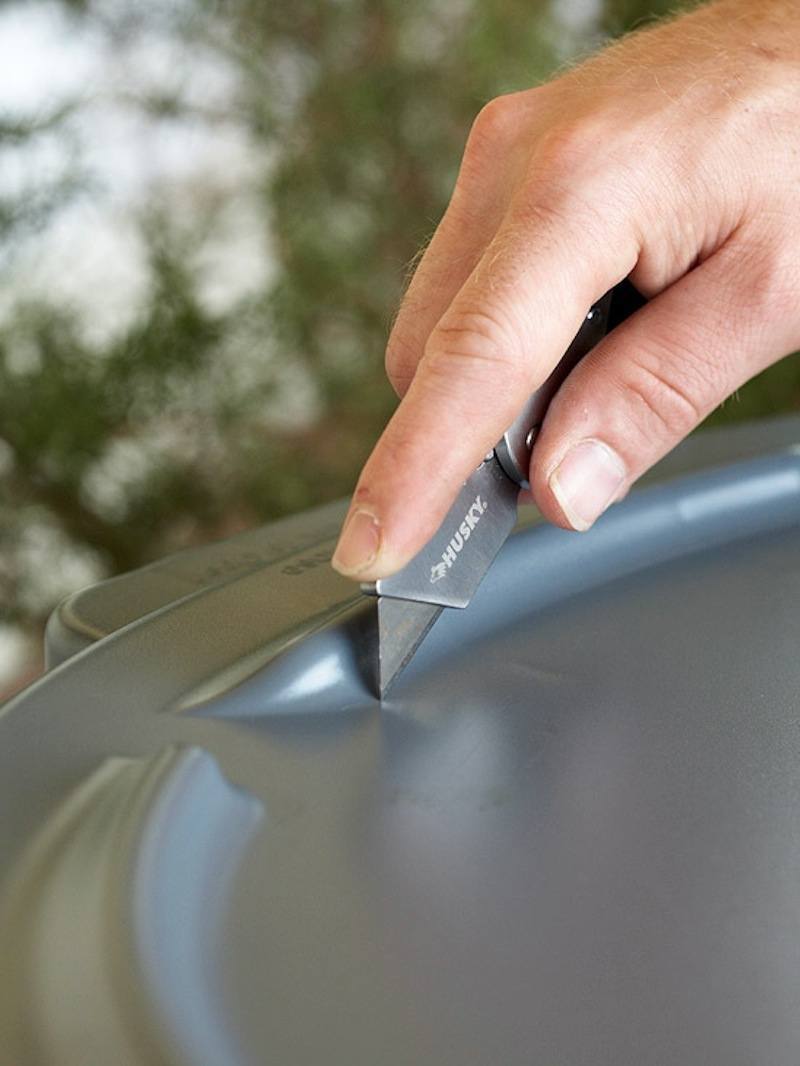
Step 5: Make Entry and Exit Holes
Carefully cut a hole in the lid of your rain barrel. This hole should sit under your home's downspout so the water runs right into the barrel. Cut the hole so it's large enough to accommodate the water flow from the downspout. You'll also want to drill a hole or two near the very top of your rain barrel. This hole will allow water to overflow. Here's a hint: You can run a short length of hose or PVC pipe, from the overflow hole to another rain barrel to connect them. That way if your rain barrel fills, the excess water will run into the next one and you don't lose overflow water.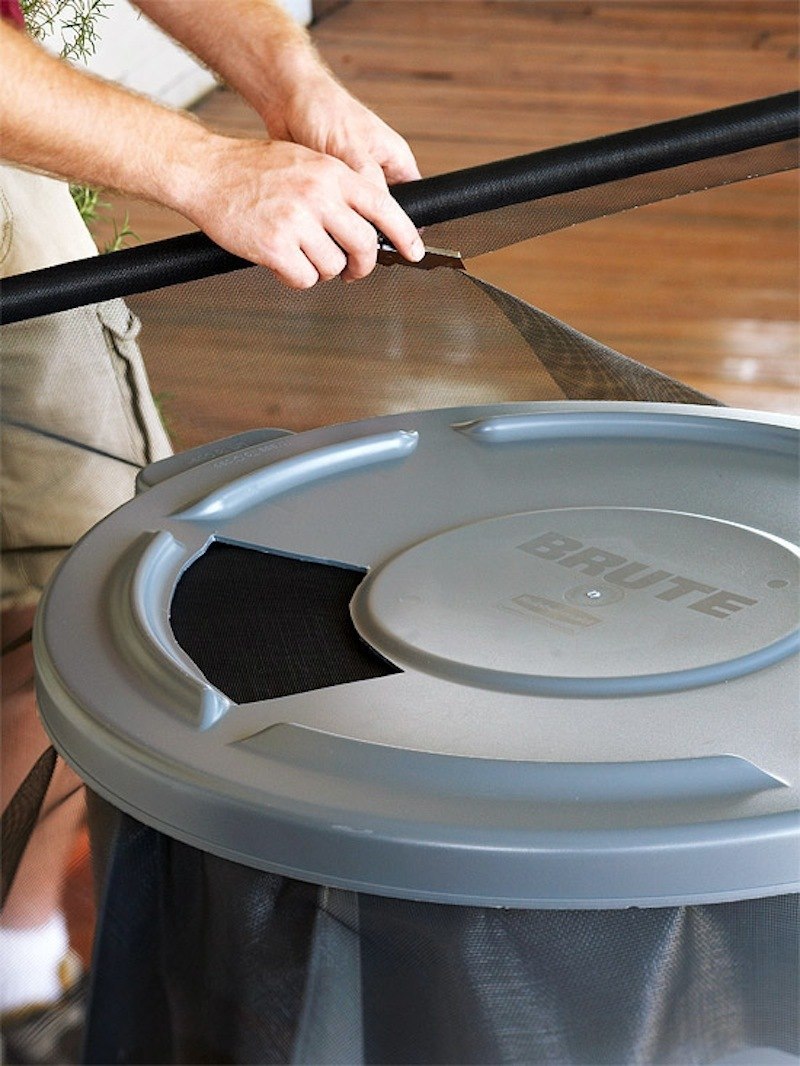
Step 6: Seal The Top
Cut a piece of landscaping fabric to sit over the top, then put the lid over the top of it to secure it. This will create a barrier that prevents mosquitoes and other pests from getting in your rain barrel water.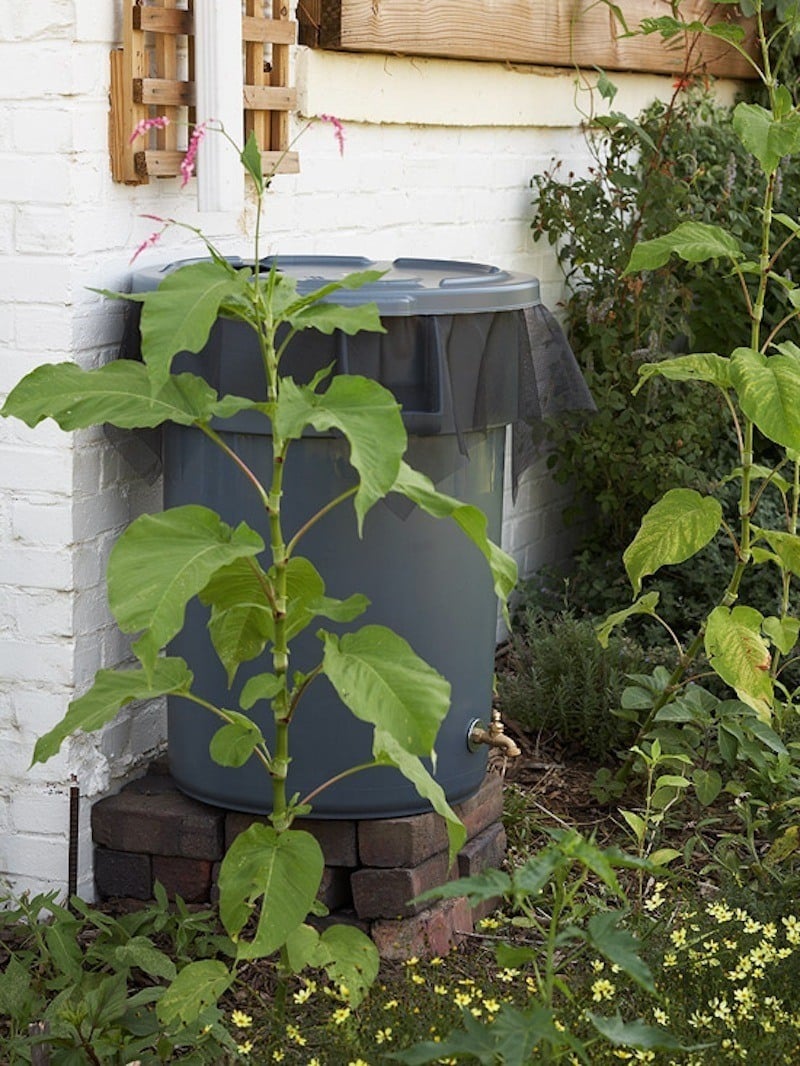


